Using Bodo Cloud Platform
Bodo Cloud Platform Concepts
This page describes the fundamental concepts you need to know to use the Bodo Cloud Platform.
Organizations
Organizations on the Bodo Cloud Platform are tenants for billing and cloud resource management purposes. An organization can have multiple workspaces and cloud configurations, and users can be part of multiple organizations.
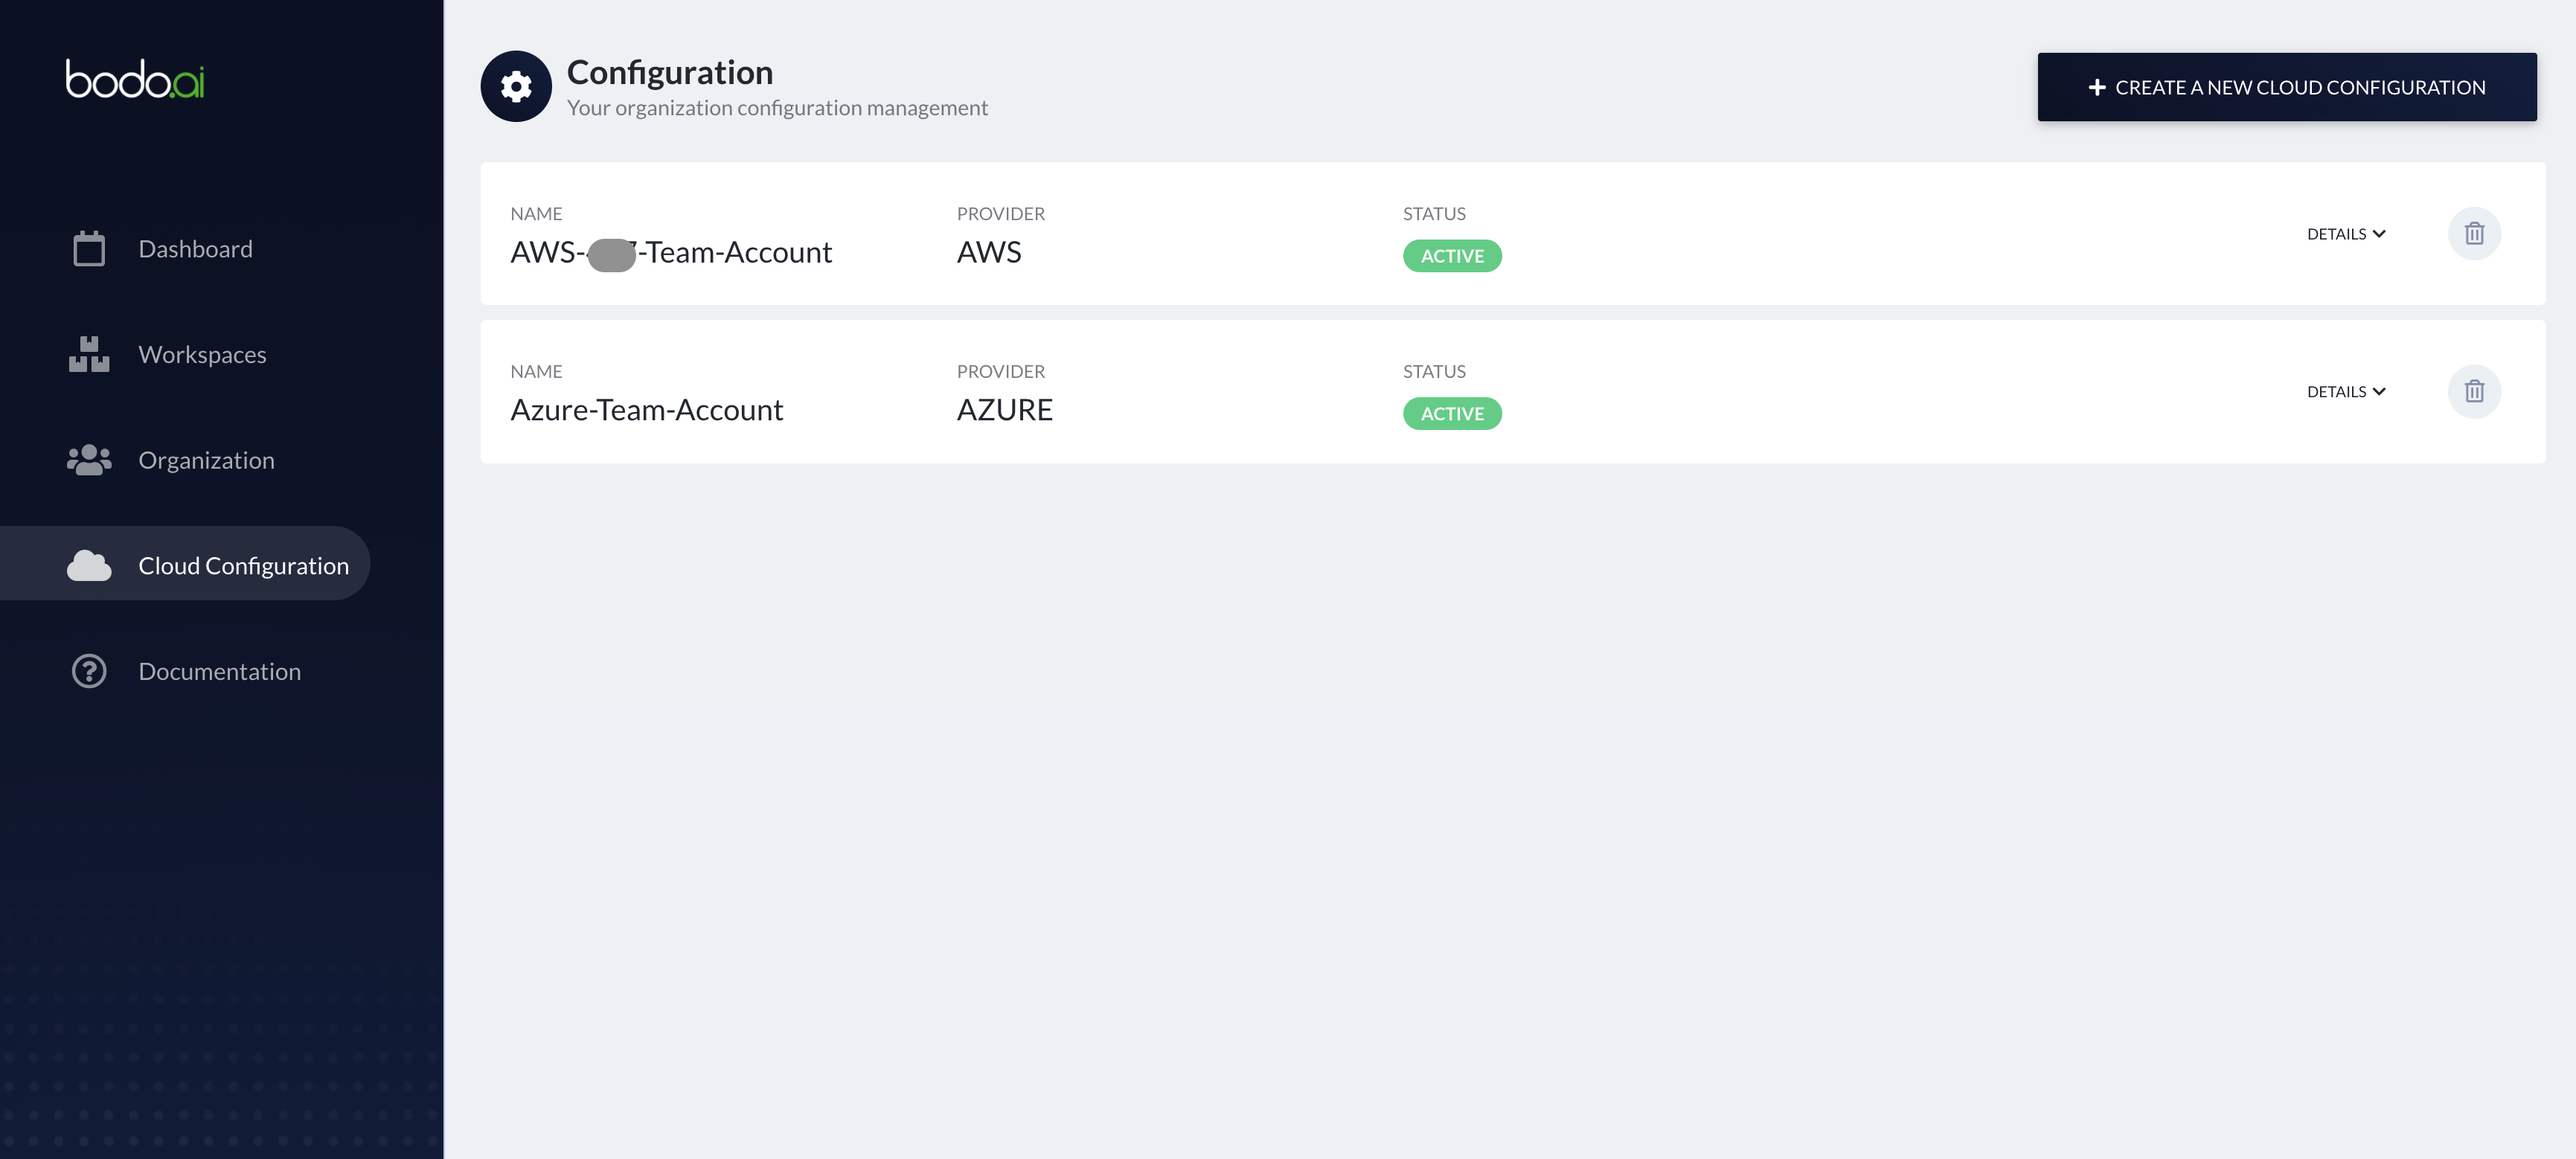
Cloud-Configurations
A cloud-configuration is an entity used to store information about your AWS or Azure account. It consists of:
- Details regarding the trust relationship between the platform and your cloud provider account. For AWS accounts, this is done through a cross-account IAM role. For Azure account, this is done through a service principal (scoped to a specific resource group) for the Bodo Platform application. This gives the platform the ability to provision and manage cloud resources in your account.
- Details regarding metadata storage. The platform needs to store certain metadata to carry out its functions, such as the state of your various cloud deployments, logs, etc. On AWS, this data is stored in an S3 bucket and a DynamoDB table. On Azure, this data is stored in a storage container.
Workspaces
A workspace on the Bodo Cloud Platform consists of:
- A shared filesystem where you can collaborate with your team on your projects.
- Networking infrastructure such as virtual networks, security groups and subnets in which your compute clusters and Jupyter servers will be securely deployed.
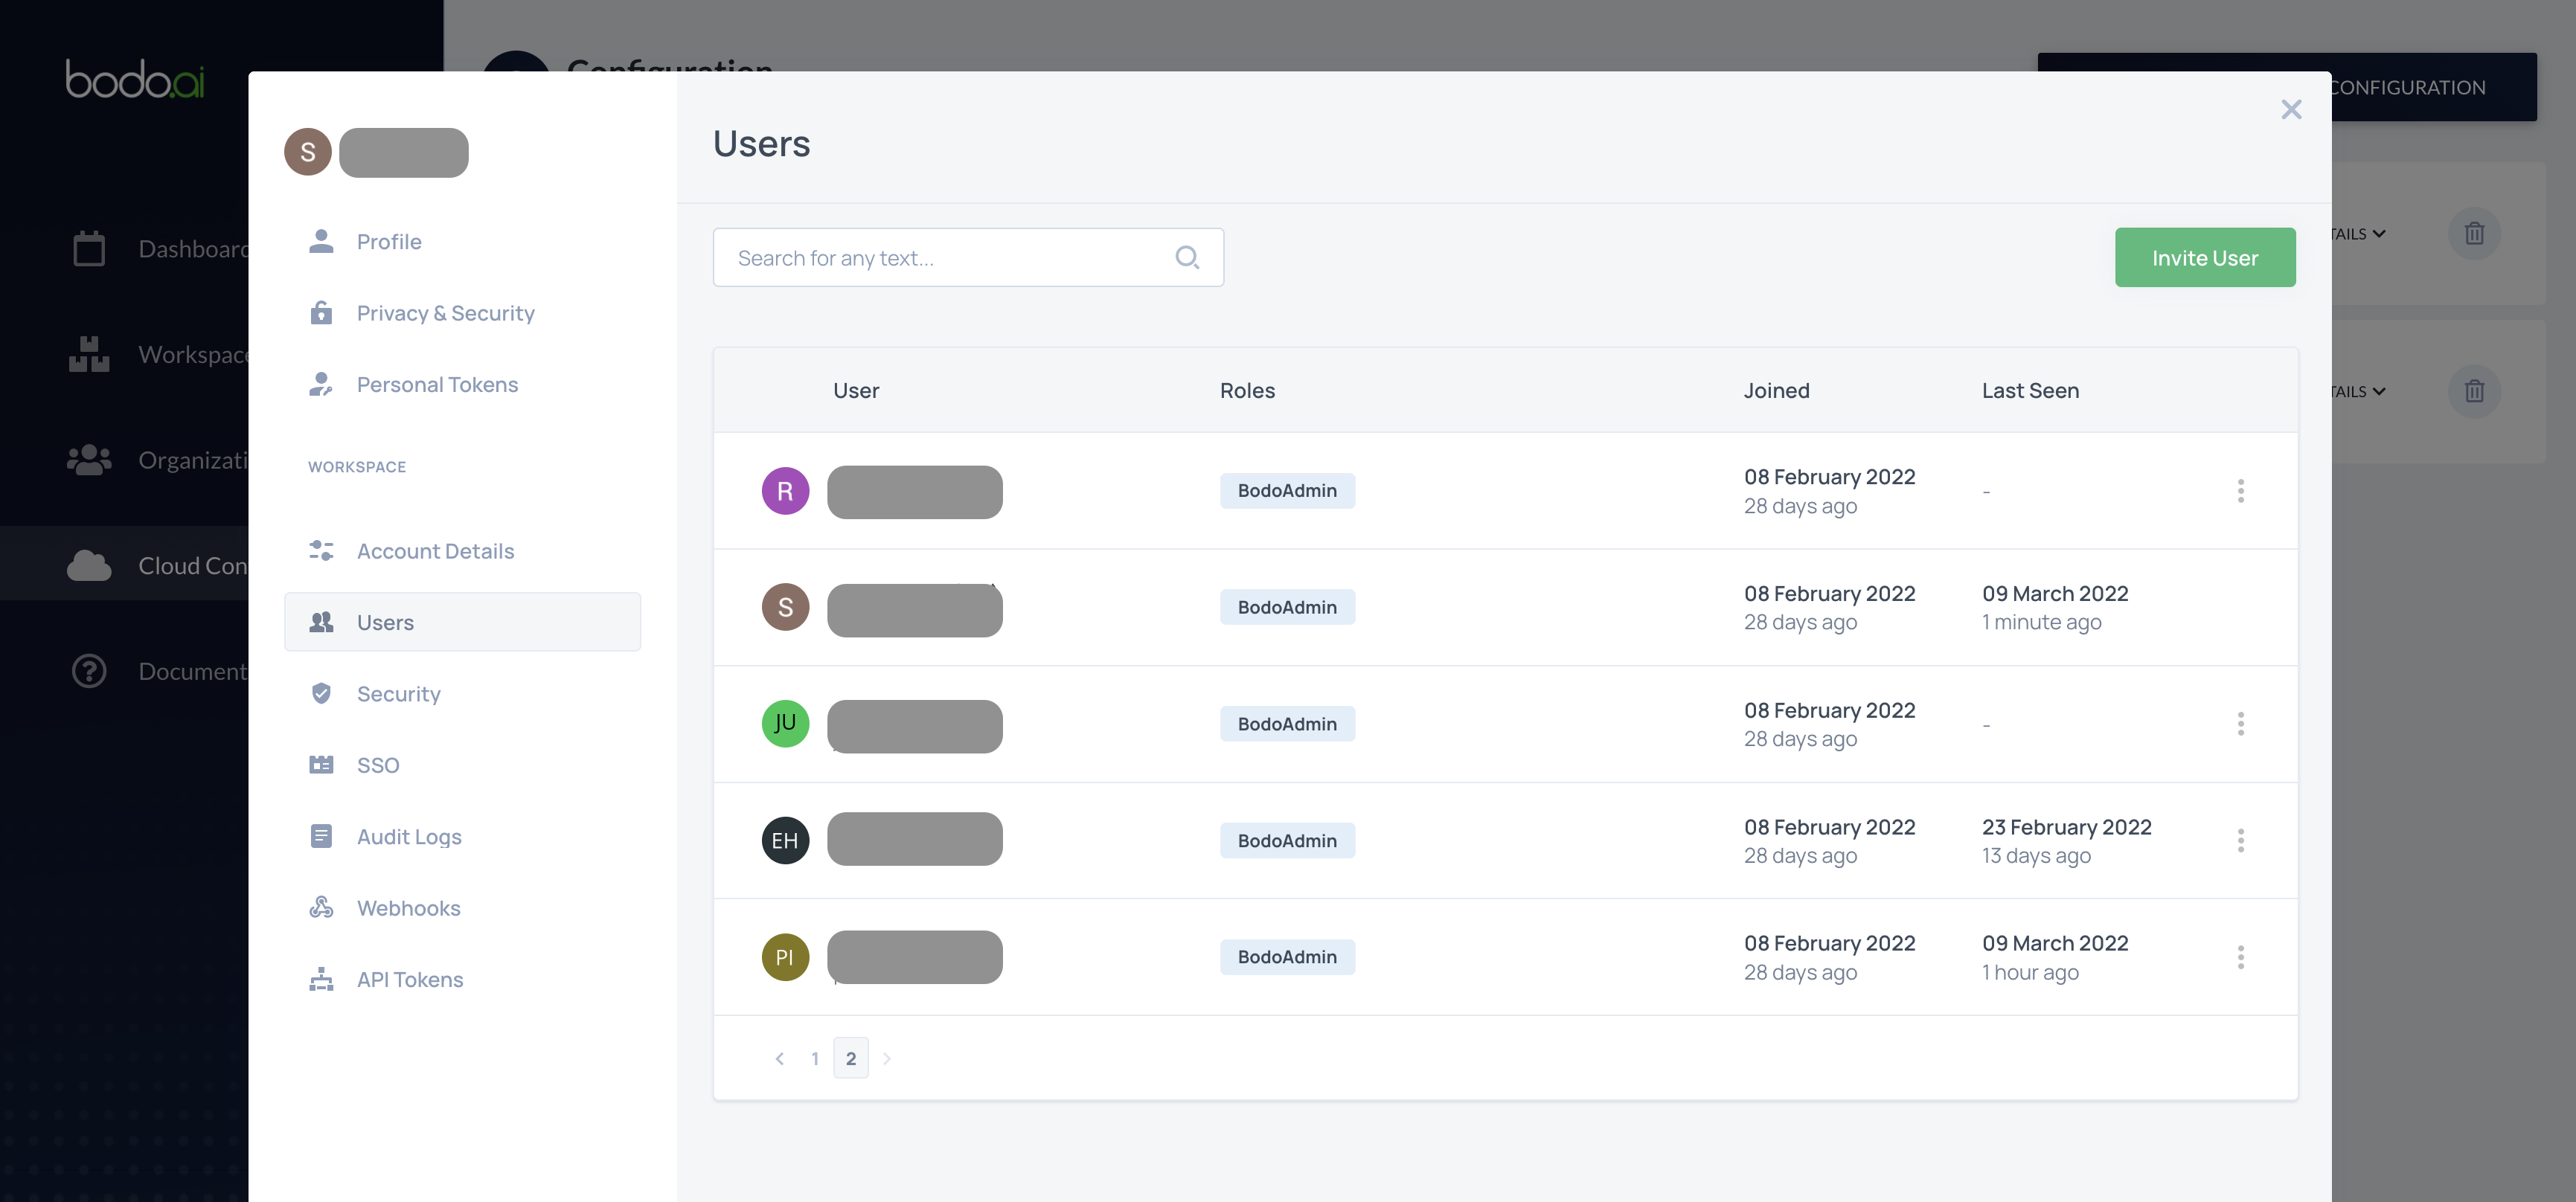
A workspace is tied to a particular cloud-configuration and has its own user-management i.e., you can have different subsets of users with different sets of roles and permissions in different workspaces within the same organization.
Important
If a user that is not part of the organization, is invited to a workspace in the organization, it is automatically added to the organization with minimal permissions.
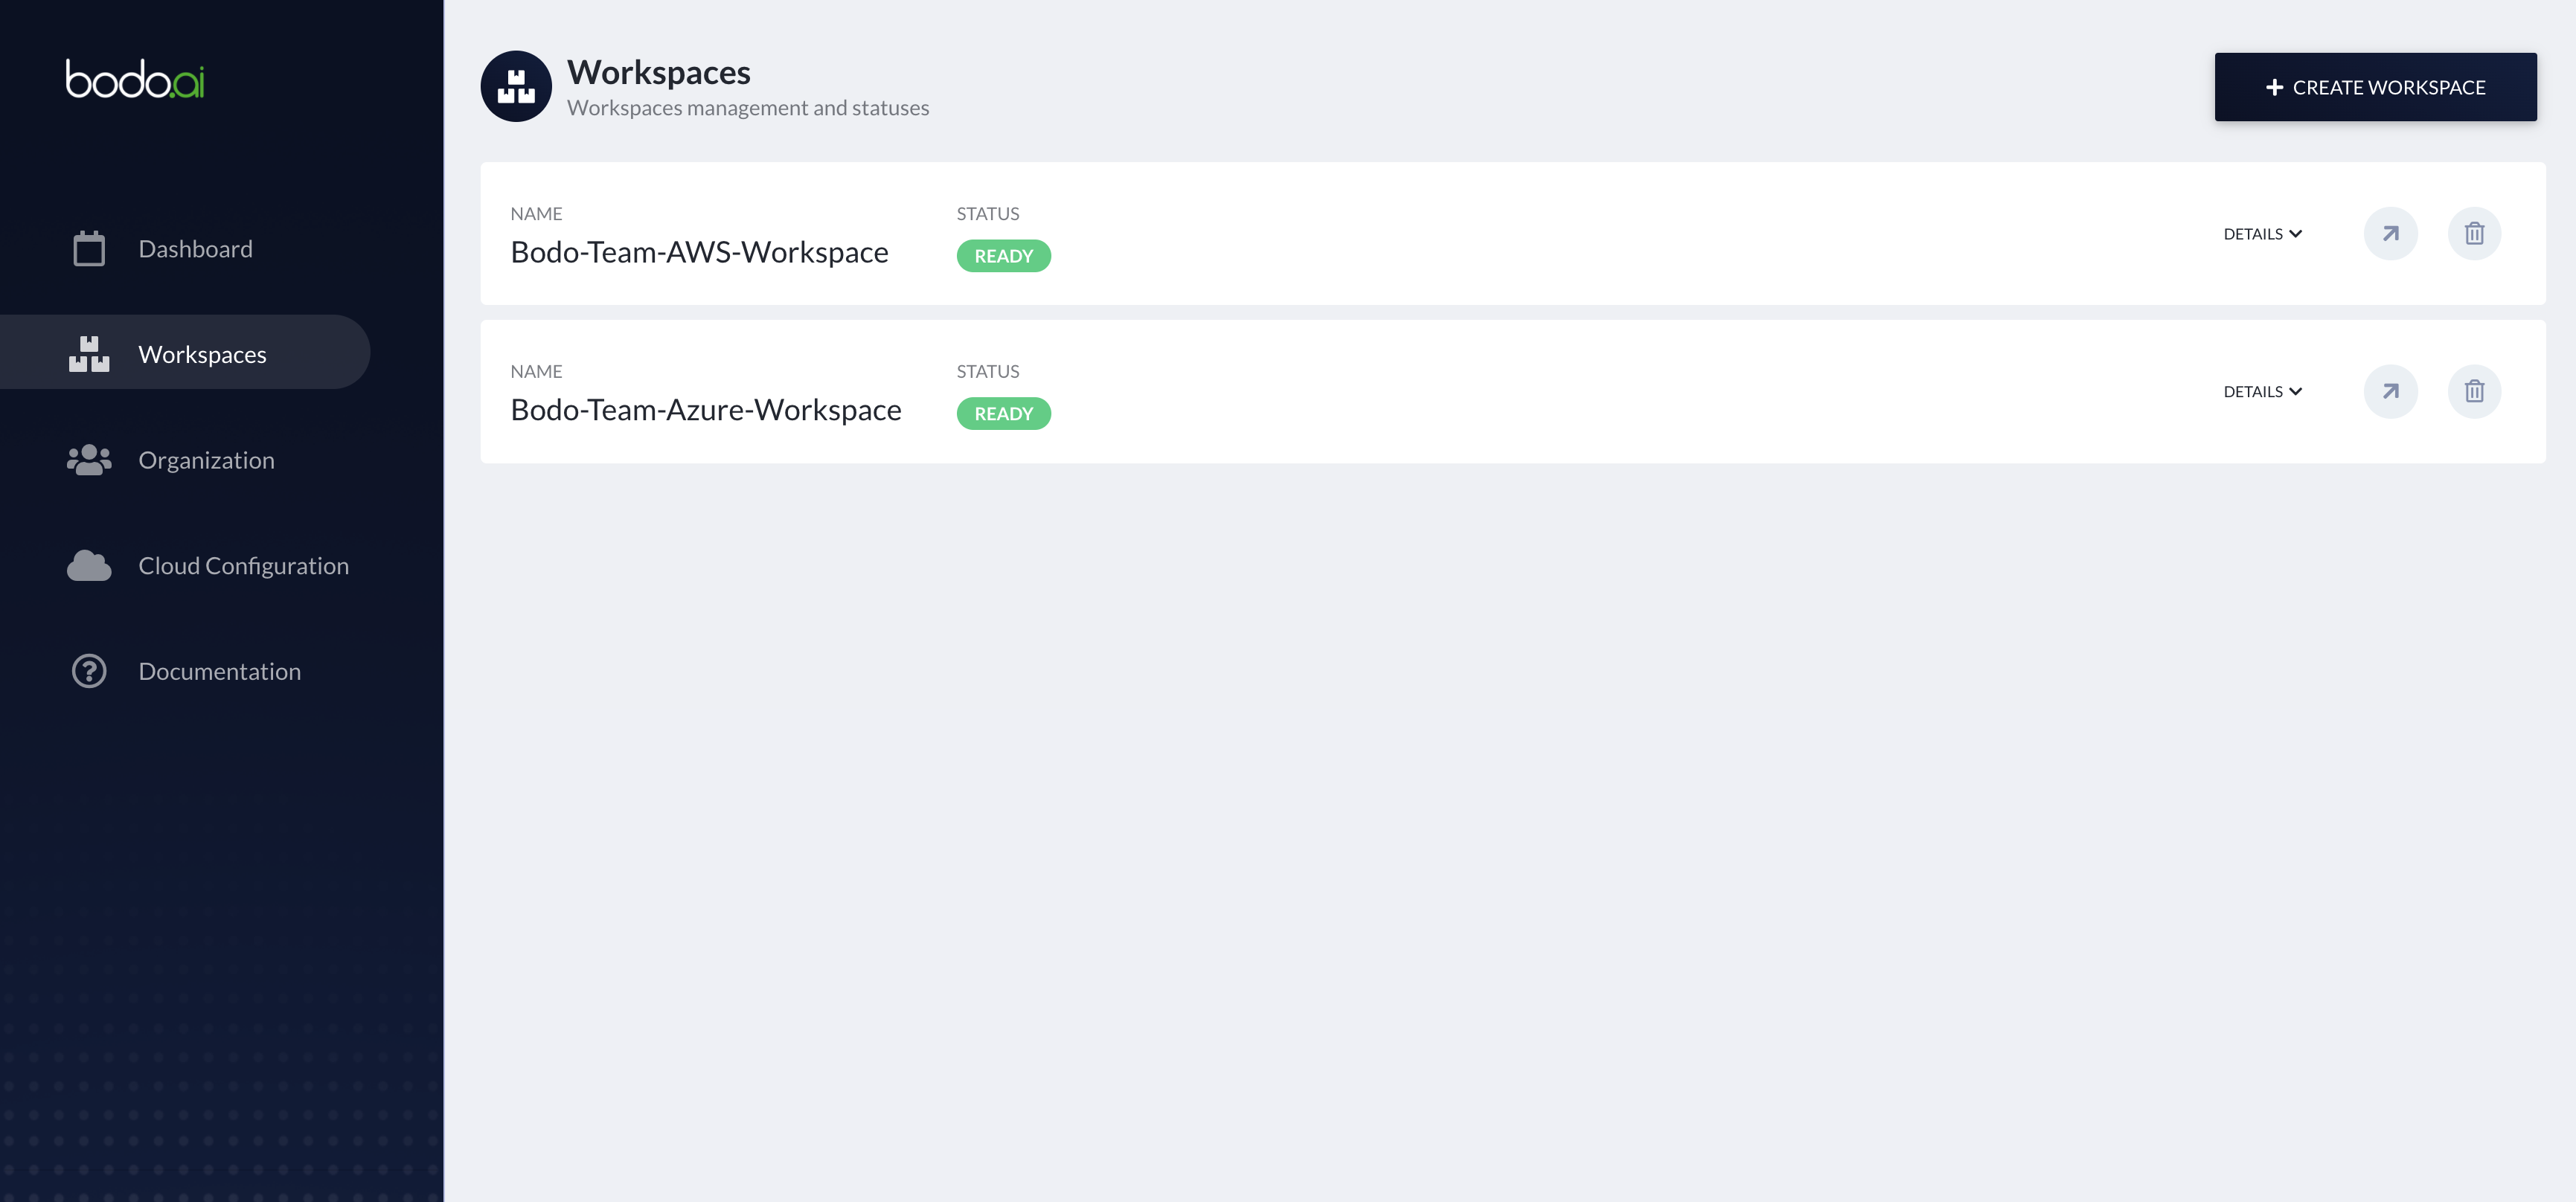
To create a workspace, go to the "Workspaces" section in the sidebar and click on "Create Workspace". In the creation form, enter the name of the workspace, select the cloud-configuration to use for provisioning it and the region where it should be deployed, and click on "Create Workspace".
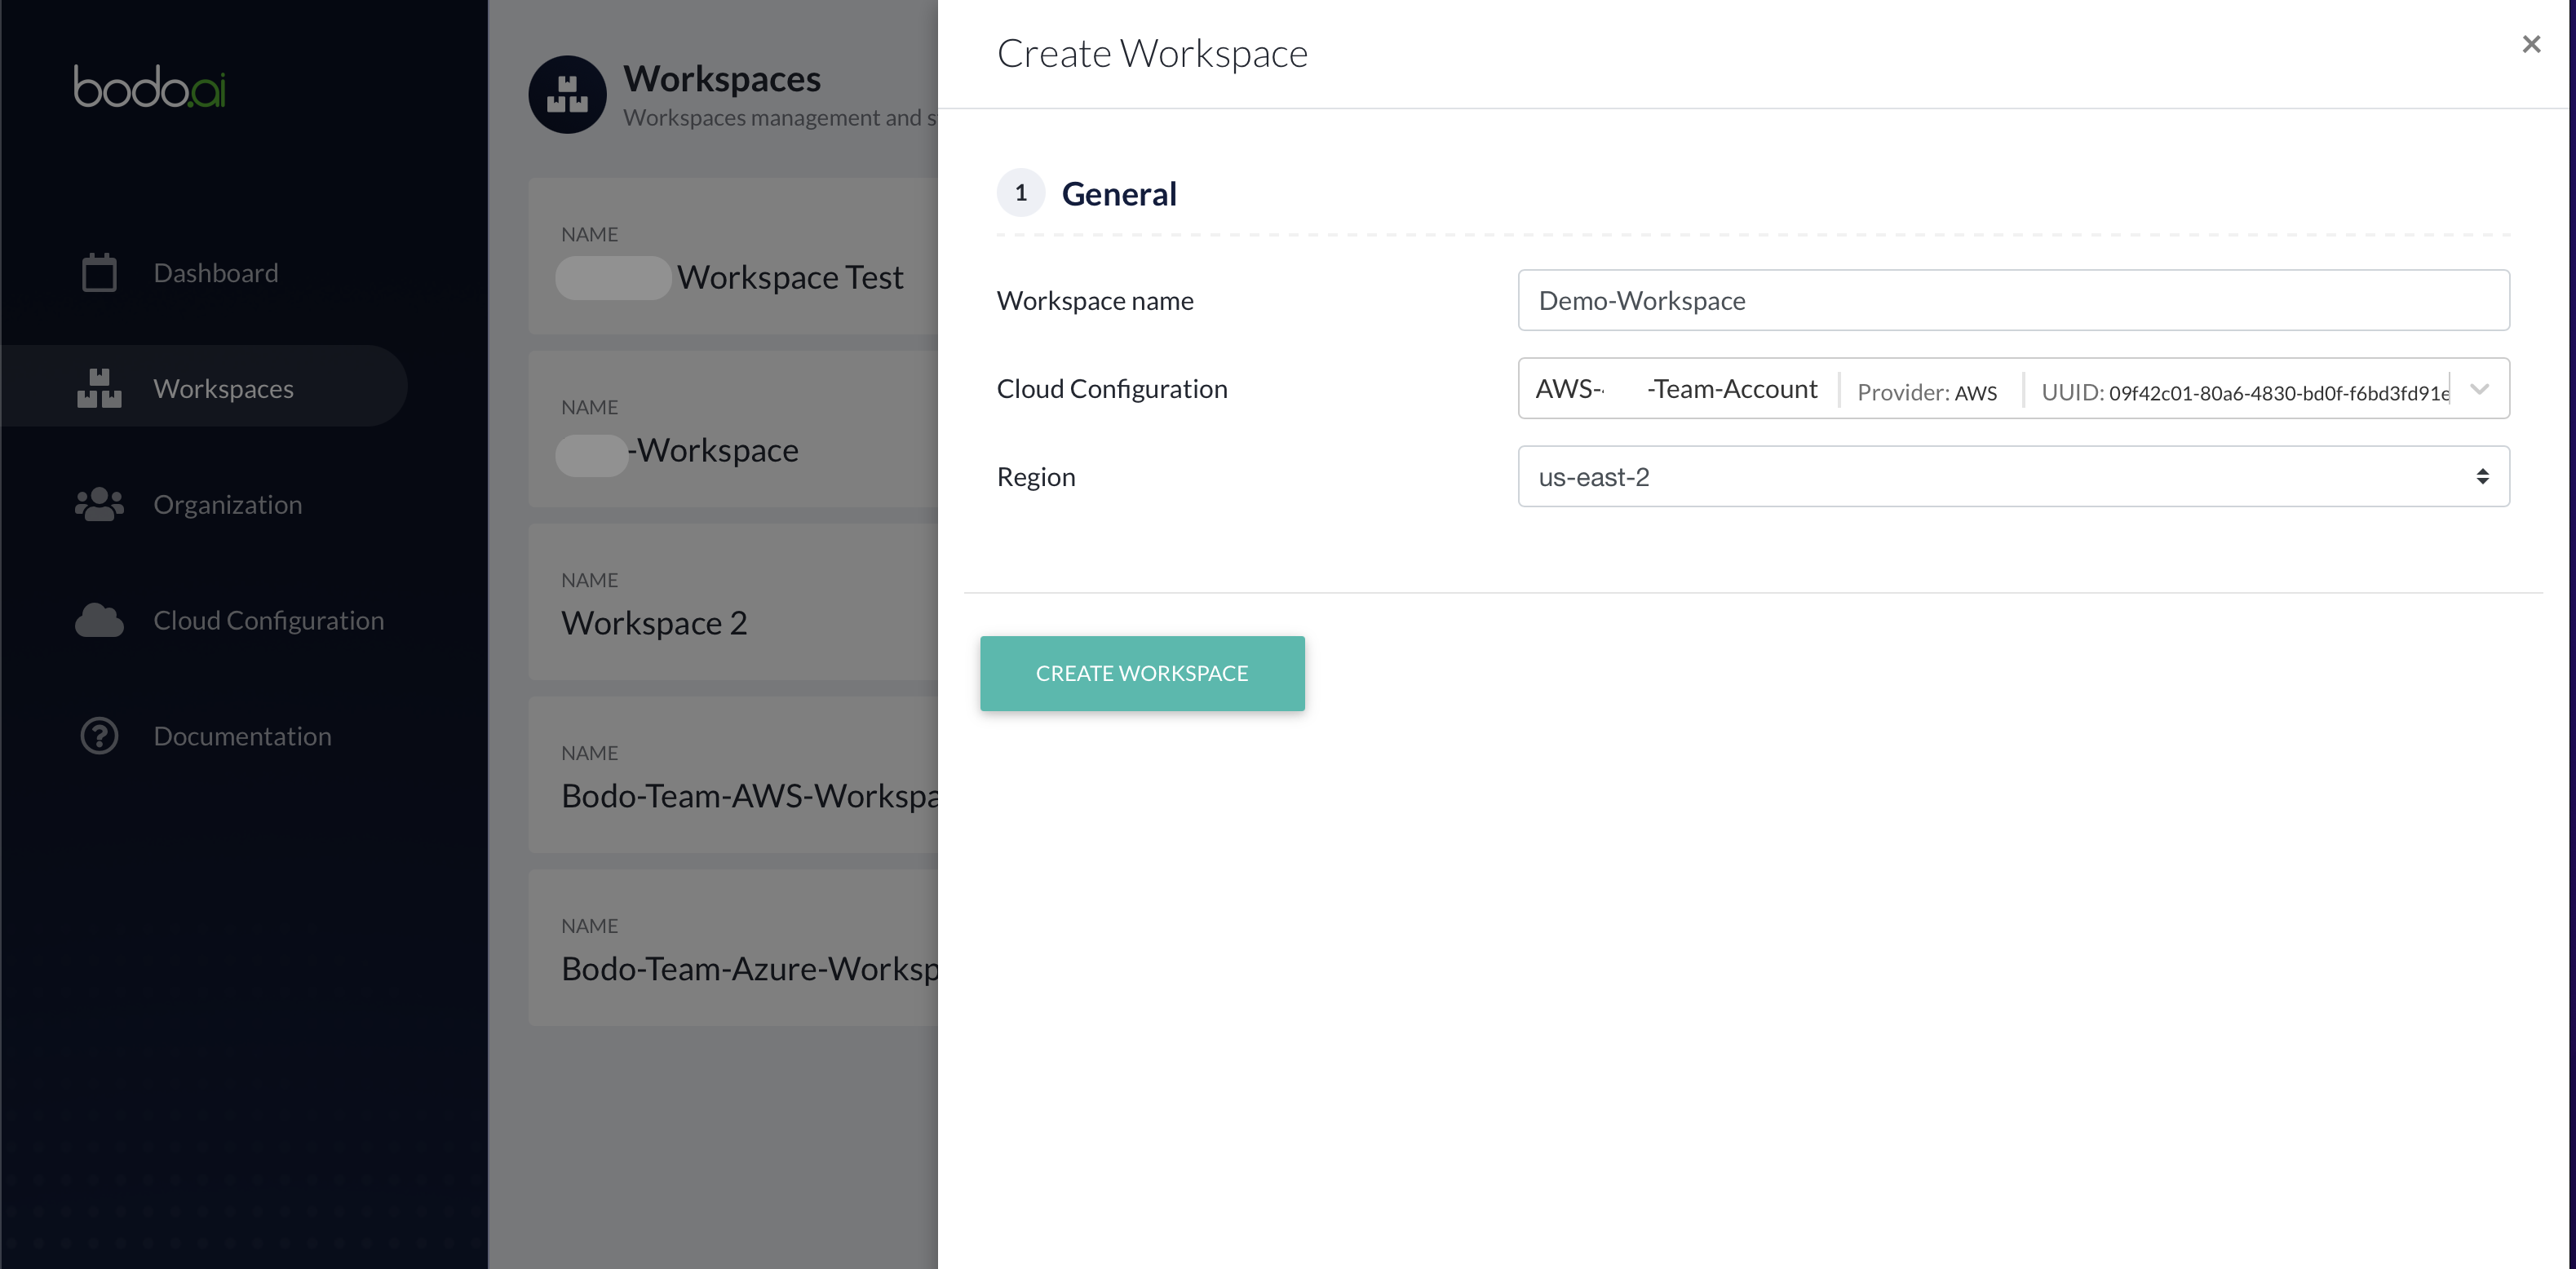
This will start the workspace deployment. When the workspace is in the "READY" state, click on the button next to it to enter it.

Notebooks
Jupyter servers act as your interface to both your shared file-system and your compute clusters. Users can execute code from their notebooks on the compute cluster from the Jupyter interface. A Jupyter server is automatically provisioned for your use when you first enter the workspace.

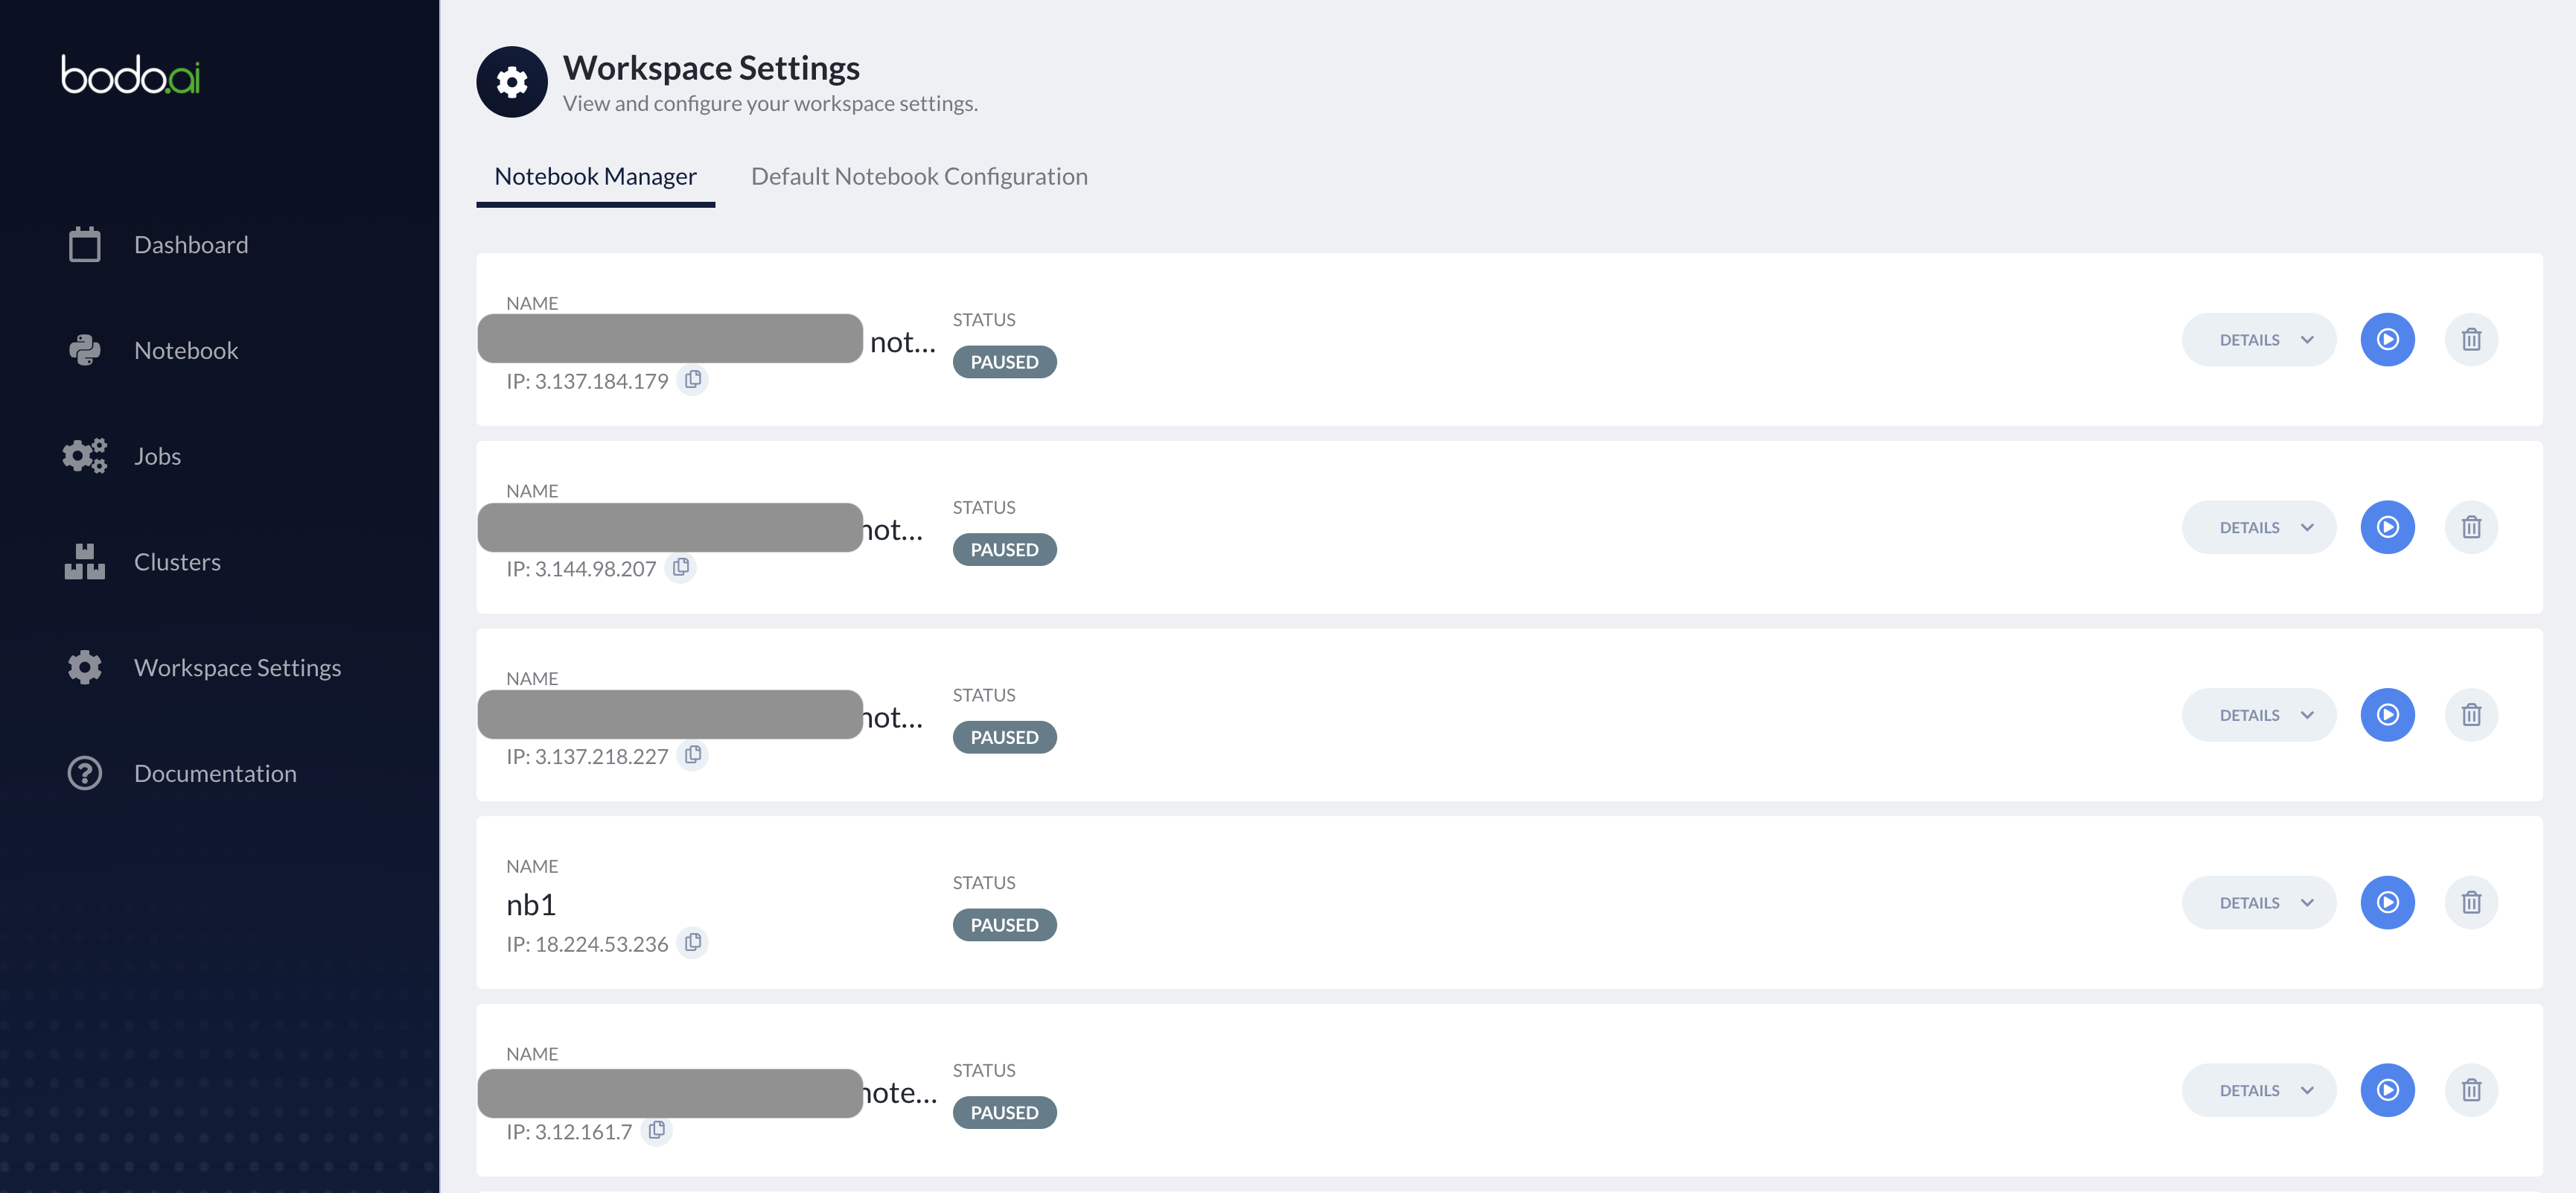
You can view and manage all the Jupyter servers in the "Notebook Manager" section of "Workspace Settings".
Creating Clusters
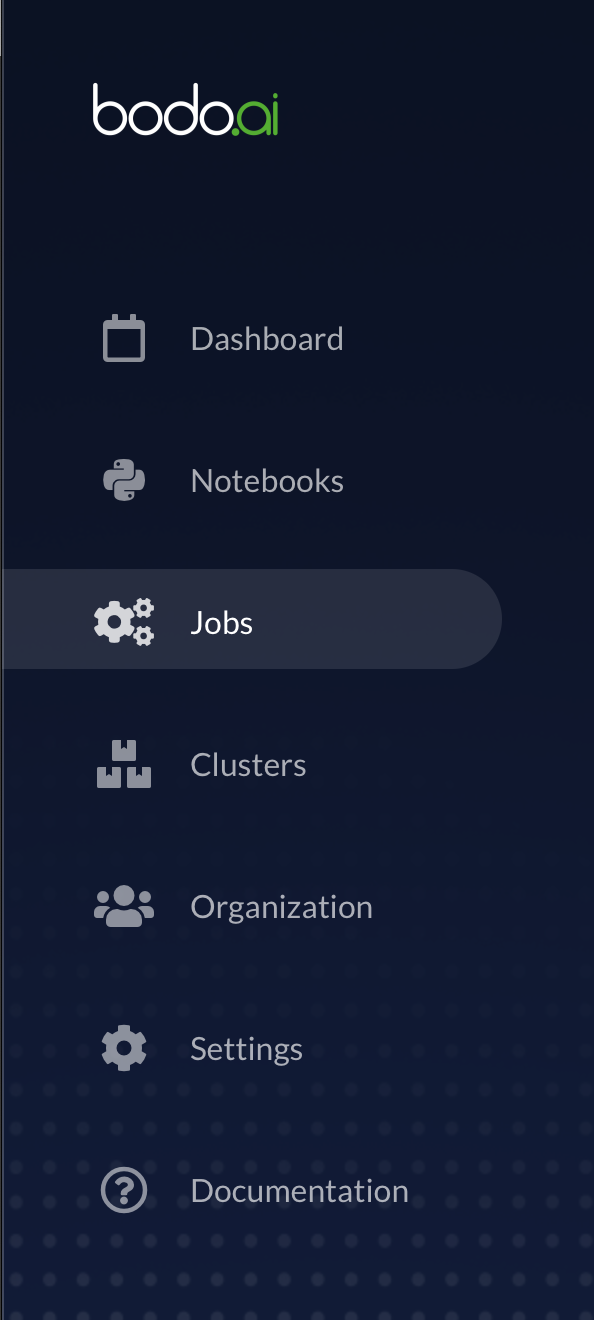
In the left bar click on Clusters (or click on the second step in the
Onboarding list). This will take you to the Clusters page. At the top right corner,
click on Create Cluster which opens the cluster creation form.
Cluster creation form:

First, choose a name for your cluster.
Then, select the type of nodes in the cluster to be created from the Instance type dropdown list. EFA will be used if the instance type supports it.

Note
If the Instance type dropdown list does not populate, either the credentials are not entered properly or they are not valid. Please see how to set your AWS or Azure credentials and make sure your credentials are valid.
Next, enter the number of nodes for your cluster in Number of Instances. and choose the Bodo Version to be installed on your cluster. Typically the three latest Bodo Releases are available.

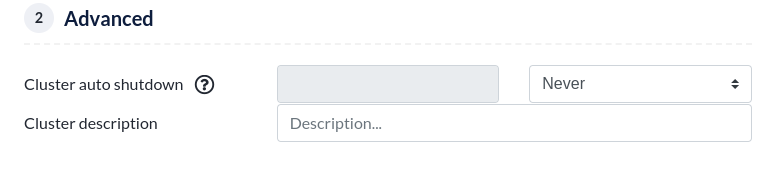
Then, select a value for Cluster auto pause. This is the amount of time of inactivity after which the platform will pause the cluster automatically.

Additionally, you can select a value for Cluster auto shutdown. Activity is determined through attached notebooks (see
how to attach a notebook to a cluster) and jobs
(see [how to run a job][running_a_job]). Therefore, if you
don't plan to attach a notebook or a job to this cluster (and use it
via ssh instead), it's recommended to set this to
Never, since otherwise the cluster will be removed after
the set time.
Finally click on CREATE. You will see that a new task for creating the
cluster has been created. The status is updated to
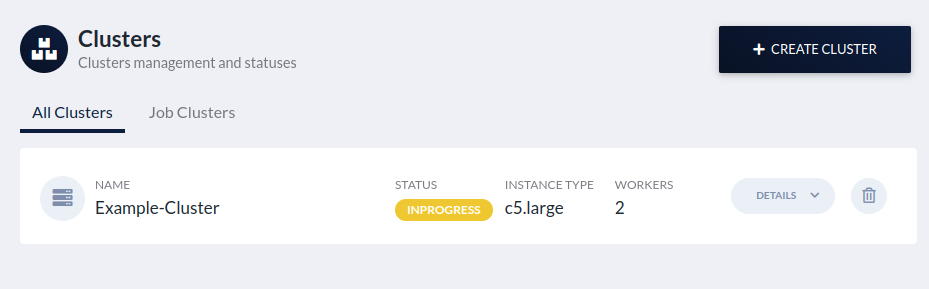
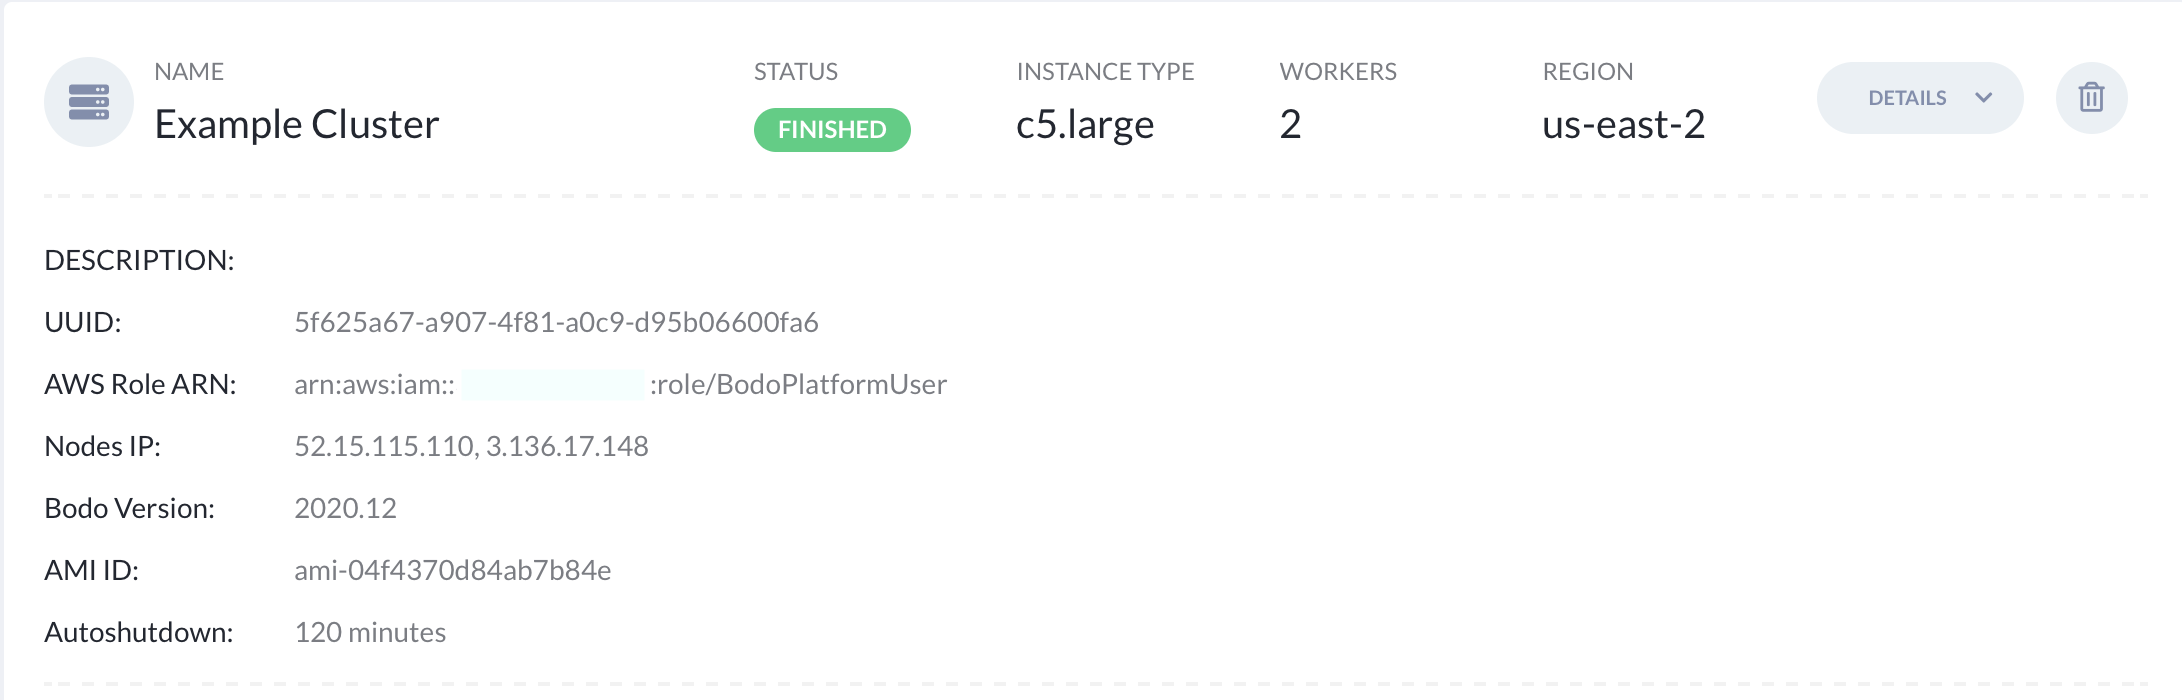
You can click on the Details drop down to monitor the progress for the
cluster creation.
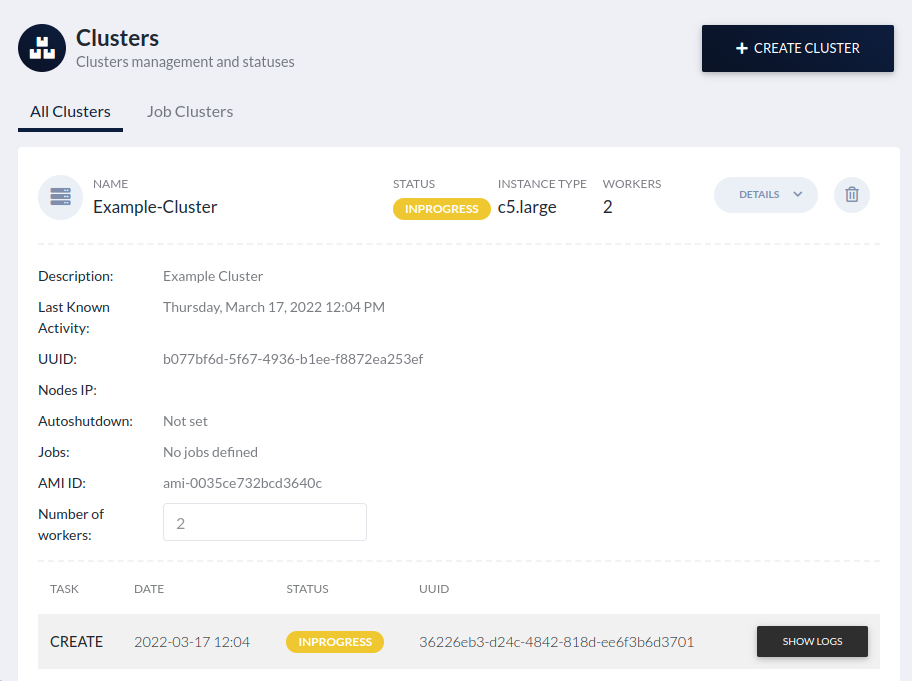
Once the cluster is successfully created and ready to use, the status is
updated to
Cluster Instance Type and Size Recommendations
If you were previously running a query on a Snowflake Warehouse this table provides a starting point for what instance type and size you can use to run the query using Bodo. Since this is only a starting point you should experiment to find the best configuration for your specific use case.
| Snowflake Warehouse Size | Bodo Cluster Spec |
|---|---|
| XS | 1 x c5n.2xlarge |
| S | 1 x r5n.4xlarge |
| M | 1 x r5n.8xlarge |
| L | 1 x r5n.24xlarge |
| XL | 2 x r5n.24xlarge |
| 2XL | 5 x r5n.24xlarge |
Attaching a Notebook to a Cluster
To attach a notebook to a cluster, select the cluster from the drop-down in the top-left.
To execute your code across the attached cluster, use IPyParallel magics %%px and %autopx.
Note that parallel execution is only allowed when the notebook is attached to a cluster. If you execute a cell without a cluster attached, the following warning will be shown:
Using your own Instance Role for a Cluster
AWS
In cases where you want to access additional AWS resources from Bodo clusters e.g. S3 buckets, you can create an IAM Role in your AWS account and then register it as an Instance Role on the Bodo Platform which will allow you to access those resources from Bodo clusters without using AWS keys.
Note that, by default, Bodo creates an IAM role with necessary policies for each cluster. When you register your own role with the Bodo Platform, it will automatically attach the other required policies to this role.
Here we walk through the process of setting up an IAM Role in AWS and then registering it as an Instance Role on the Bodo Platform. For this example, we will be creating a role with access to an S3 bucket in your AWS account:
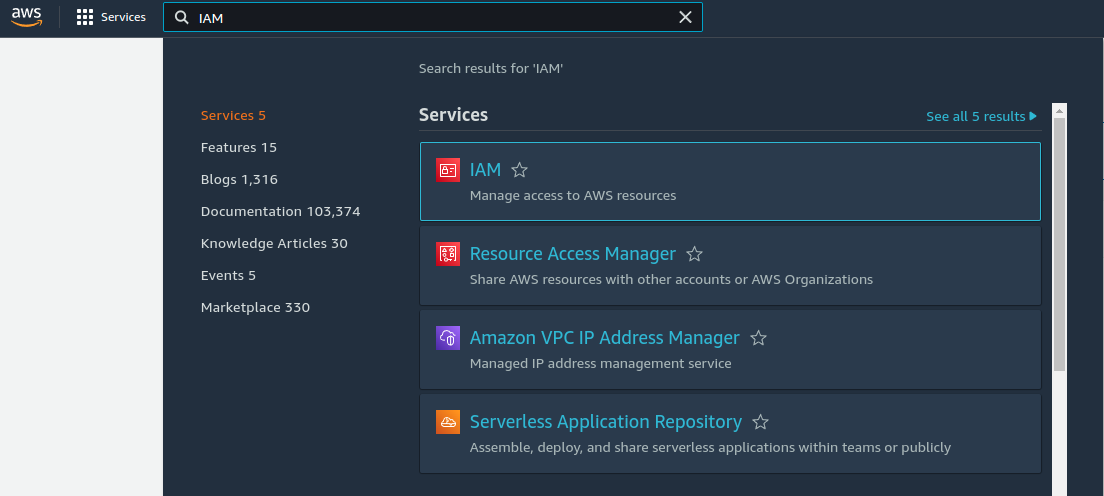
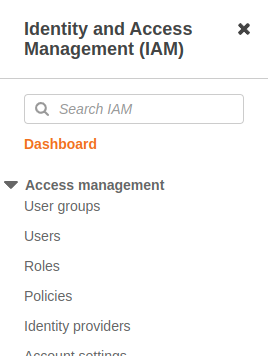
Step 1: Create an AWS IAM Role on the AWS Management Console: 1. Go to the IAM service.
- In the left sidebar click on Roles.
- Click on button
Create role, then select: - Trusted entity type: AWS service
- Common use cases: EC2
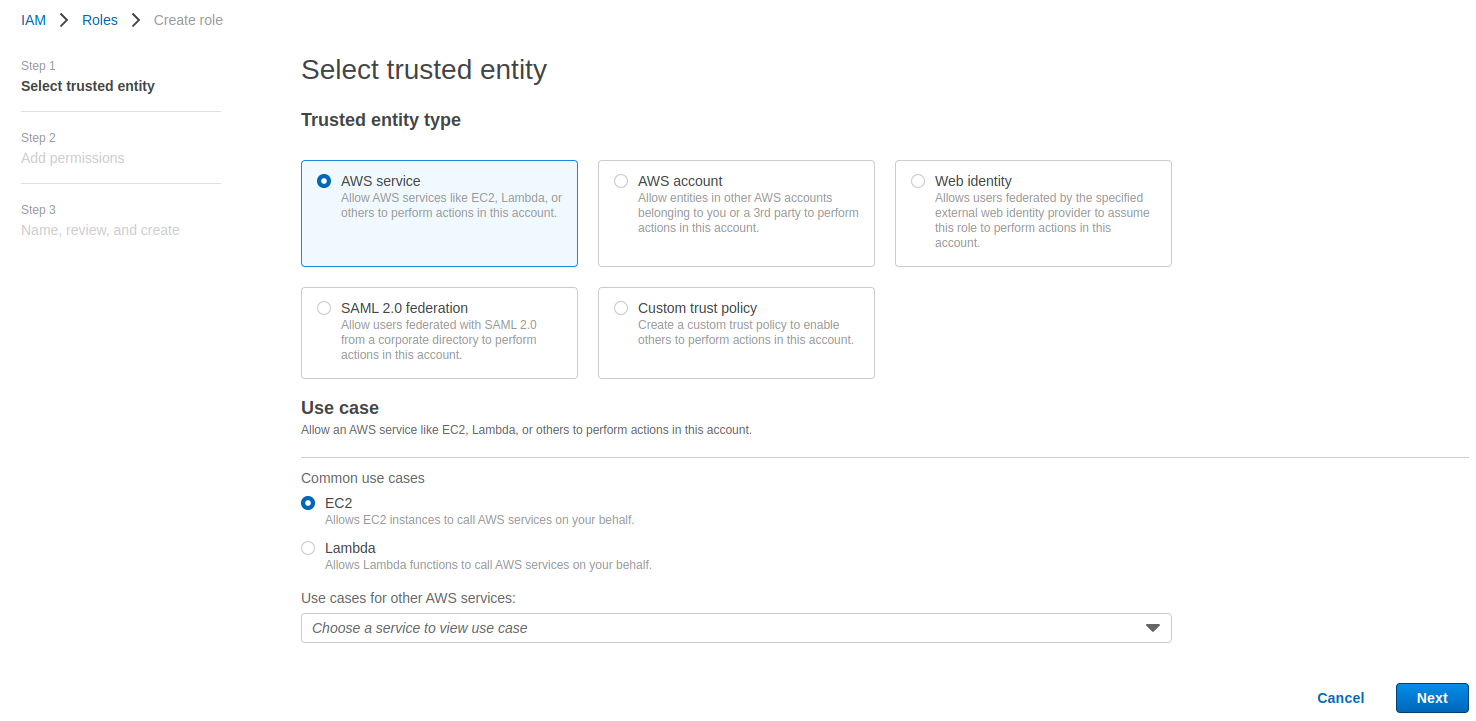
- Click next, and then create new policy that will be attached to this role:
-
json policy:
{ "Version": "2012-10-17", "Statement": [ { "Effect": "Allow", "Action": [ "s3:ListBucket" ], "Resource": [ "arn:aws:s3:::<private-s3-bucket-name>" ] }, { "Effect": "Allow", "Action": [ "s3:PutObject", "s3:GetObject", "s3:DeleteObject", "s3:PutObjectAcl" ], "Resource": [ "arn:aws:s3:::<private-s3-bucket-name>/*" ] } ] } -
Go back to Create role, refresh list of policies and add the policy that was created.
- Click Next, then in the Role name field, type a role name and click Create role.
- Copy the Role ARN from the role summary.

Step 2: Register your AWS IAM Role on the Bodo Platform as a new Instance Role:
- Click on the CREATE INSTANCE ROLE button and in the creation form, fill the following fields:
- Name: Name for the Instance Role
- Role ARN: AWS Role ARN from Step 1
- Description: Short description for Instance Role
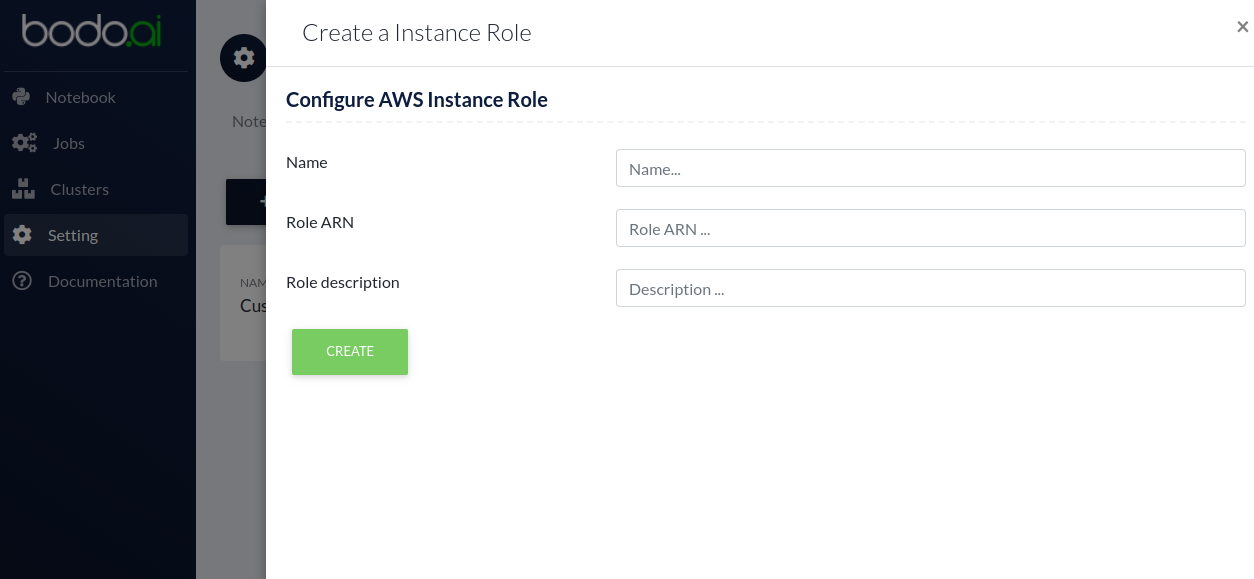
- Click on the Create button.
The Instance Role will now be registered on the Platform. It can have one of two status-es: * Active: Instance Role is ready to use * Failed: Something went wrong while registering the Instance Role and it cannot be used. Some possible problems could be: * The Platform wasn't able to find the specified Role. * The Platform was not able to attach additional Bodo polices that are required for normal cluster operations.
Managing Packages on the cluster using IPyParallel magics - Conda and Pip
We recommend all packages to be installed using Conda as that is what we use in our environments.
Any conda command can be run in parallel on all the nodes of your cluster using %pconda.
To install a new package on all the nodes of your cluster you can use %pconda install.
All conda install arguments work as expected, e.g. -c conda-forge to set the channel.
To learn more about the packages installed on the cluster nodes %pconda list.
To remove a conda package on all the nodes of your cluster, use %pconda remove.
Any pip command can be run in parallel on all the nodes of your cluster using %ppip.
Example:
To learn about the installed packages, you can use %ppip show
to get the details of the package.
To remove the same package on all the nodes of your cluster, use %ppip uninstall.

Running shell commands on the cluster using IPyParallel magics
Shell commands can be run in parallel on the nodes of your cluster using %psh <shell_command>.
Connecting to a Cluster
We recommend interacting with clusters primarily through Jupyter notebooks and Jobs. However, it may be necessary to connect directly to a cluster in some cases. In that case, you can connect through a notebook terminal.
Connecting with a Notebook Terminal
First, you need to create a cluster
and attach a notebook to the cluster.
This will create the ssh-key at ~/cluster_ssh_keys/id_rsa-<CLUSTER-UUID>.
Then, go the cluster tab and find your cluster. Click on DETAILS and
copy the cluster UUID and IP address of the node you would like to connect to.
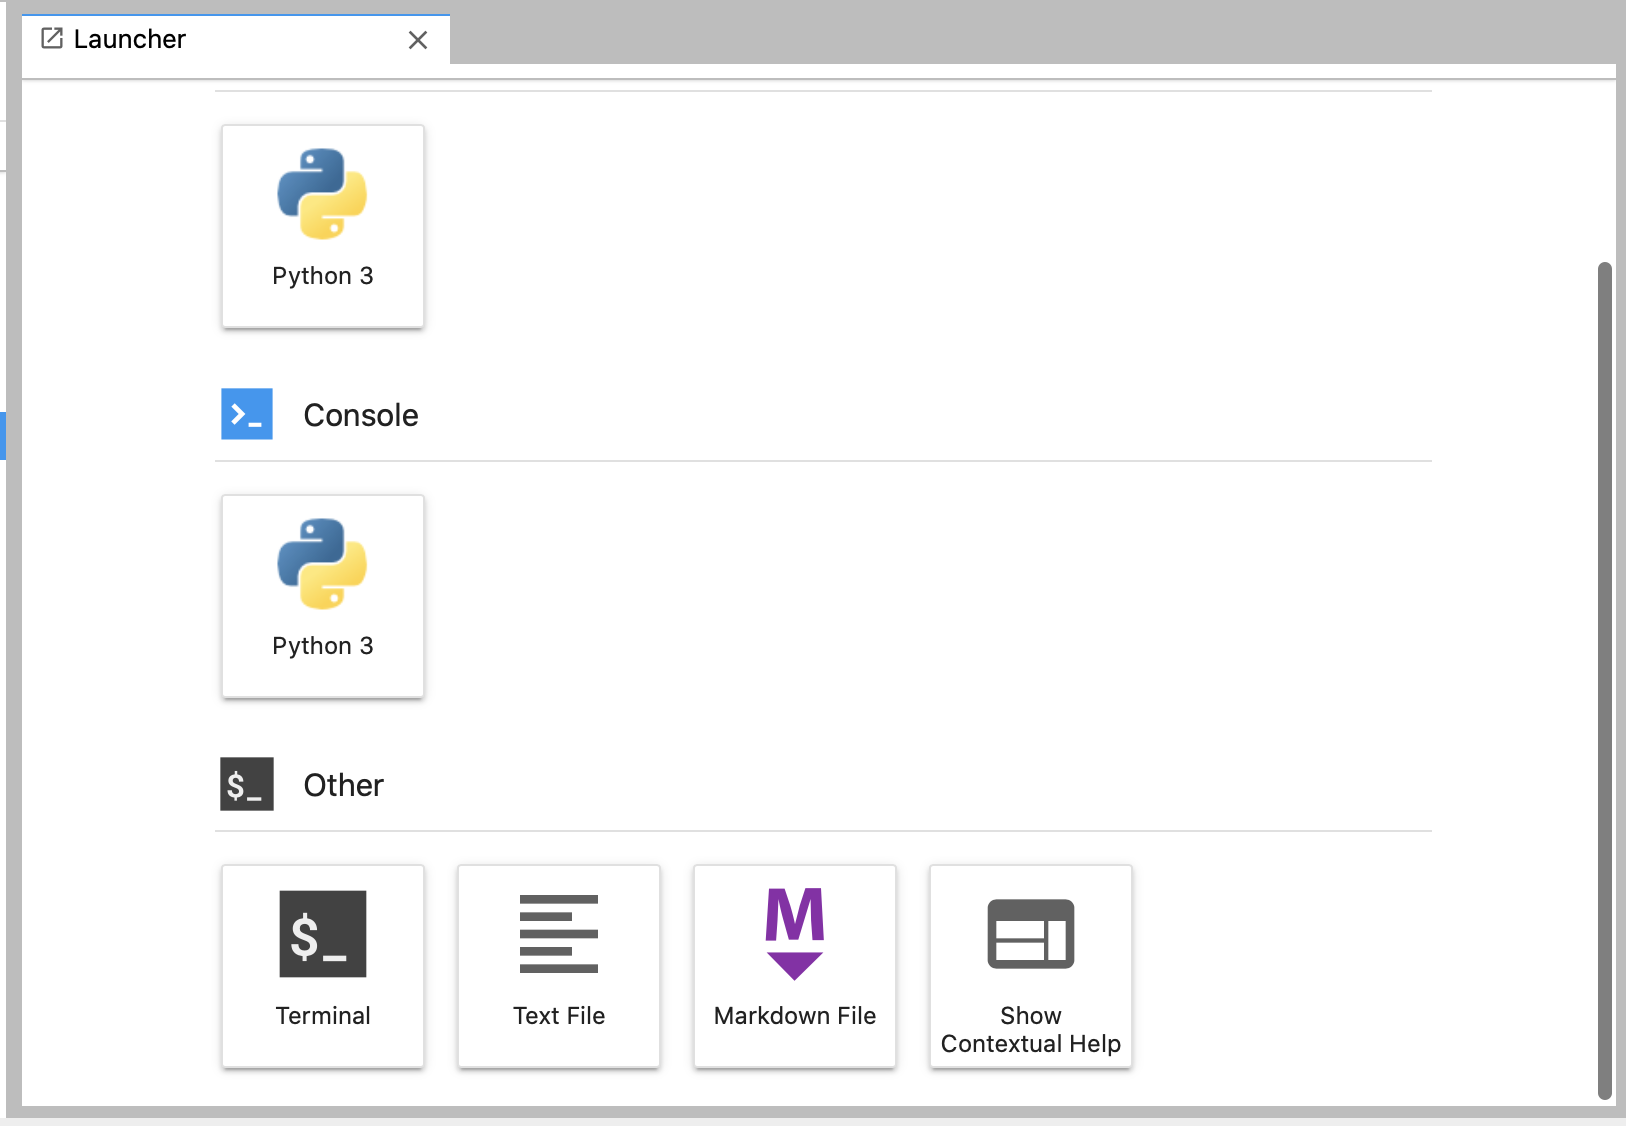
Next, go to the notebooks tab and select OPEN NOTEBOOK. In the
Launcher, click on Terminal.
In the terminal you can connect to any of the cluster nodes by running
Through this terminal, you can interact with the /shared folder, which
is shared by all the instances in the cluster and the Notebook instance.
Verify your connection to interact directly with your cluster.
Verify your Connection
Once you have connected to a node in your cluster, you should verify that you can run operations across all the instances in the cluster.
- Verify the path to the hostfile for your cluster. You can find it by running:
-
Check that you can run a command across you cluster. To do this, run:
This will print one line per each core in the cluster, with one unique hostname per cluster node.
Your cluster's
TOTAL_CORE_COUNTis usually half the number of vCPUs on each instance times the number of instances in your cluster. For example, if you have a 4 instance cluster of c5.4xlarge, then yourTOTAL_CORE_COUNTis 32. -
Verify that you can run a python command across your cluster. For example, run:
mpiexec -n <TOTAL_CORE_COUNT> -f /shared/.hostfile-<CLUSTER_UUID> python --version
If all commands succeed, you should be able to execute workloads across
your cluster. You can place scripts and small data that are shared
across cluster nodes in /shared. However, external storage, such as
S3, should be used for reading and writing large data.
Running a Job {#running_a_job} 
Bodo Cloud Platform has support for running scheduled (and immediate) Python jobs without the need for Jupyter Notebooks. To create a Job, navigate to the Jobs page by selecting Jobs in the left bar.
This pages displays any CREATE JOB. This opens a job creation form.
First, select a name for your job and specify the cluster on which you
want to deploy your job. If you have an existing cluster that is not
currently bound to a notebook or another job, you can select this
cluster from the dropdown menu. Alternatively, you can create a cluster
specifically for this job by selecting the NEW button next to the
cluster dropdown menu. When creating a cluster specifically for a job,
note that the cluster is only used for that job and is removed once the
job completes. After selecting your cluster, indicate when you want your
job to be executed in the Schedule section. Then, enter the
Command that you want to execute inside this cluster.
Note
This command is automatically prepended with
mpiexec -n <CORE_COUNT> python. For example, to run a file ex.py
with the argument 1, you would enter the command ex.py 1.
To specify your source code location, fill in the Path line with a valid Git URL that leads to a repository containing your code.
Note
When selecting a GitHub URL, you should select the URL
available at the top of your web browser and NOT the path when cloning
the repository, i.e. your path SHOULD NOT end in .git.

If you are cloning a private repository, you need to provide the
platform with valid Git credentials to download your repository. To do
so, select Show advanced in the bottom right of the form. Then in
Workspace username, enter your Git username and in Workspace
password enter either your password or a valid Github Access Token.
The advanced options also allow you to specify a particular commit or
branch with Workspace reference and to load other custom environment
variables in Other.
Note
If your Github Account uses 2FA please use a Github Access Token to avoid any possible authentication issues.
Once your form is complete, select CREATE to begin your job.

Once you've provided all the necessary details, select CREATE to
begin your job. You will see a
If you created a cluster specifically for this job, a new cluster will also appear in your clusters page.
Your job will begin once it reaches its scheduled time and any necessary
clusters have been created. Then your job will transition to being
At this point your job will execute your desired command. Once it
finishes executing, your job will transition to DETAILS
followed by SHOW LOGS. If a cluster was specifically created for this
job, it will be deleted after the job finishes.
Note
Bodo DOES NOT preserve artifacts written to local storage. If you have any information that you need to persist and later review, you should write to external storage, such as Amazon S3. You may also write to stdout/stderr, but output logs may be truncated, so it should not be considered reliable for large outputs that need to be read later.
Troubleshooting
Here are solutions to potential issues you may encounter while using the Bodo Cloud Platform.
Unexpected number of ranks
If you are getting an unexpected number of ranks then the issue could be an inaccurate
MPI hostfile for the cluster. This is mostly likely to happen after scaling up a cluster.
You can update the hostfile using IPyParallel Magic %update_hostfile and then restart
the kernel to apply the changes.
File Save Error
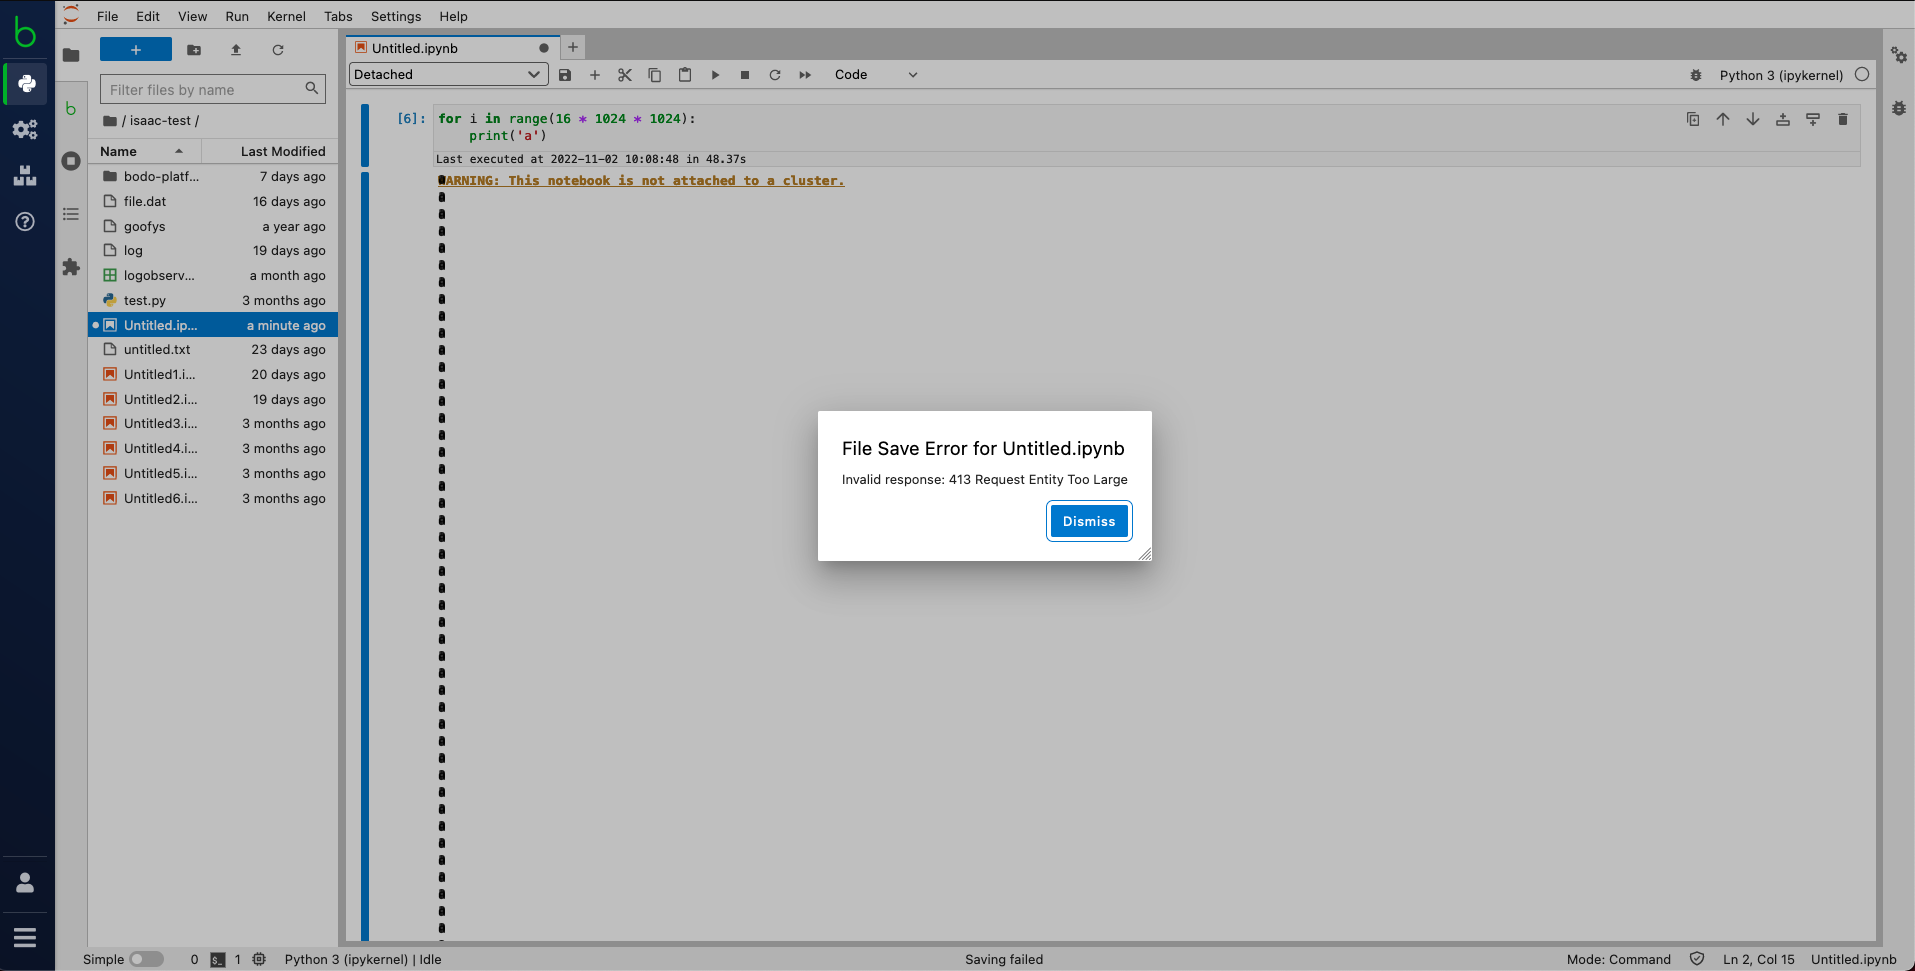
If you get a file save error with message invalid response: 413
make sure your notebook (.ipynb) file is less than 16MB in size. Bodo Platform
does not support notebook files larger than 16MB in size.
To reduce file size don't print large sections of text and clear output
cells by clicking Edit > Clear All Outputs in the notebook interface.
Account Locked Error
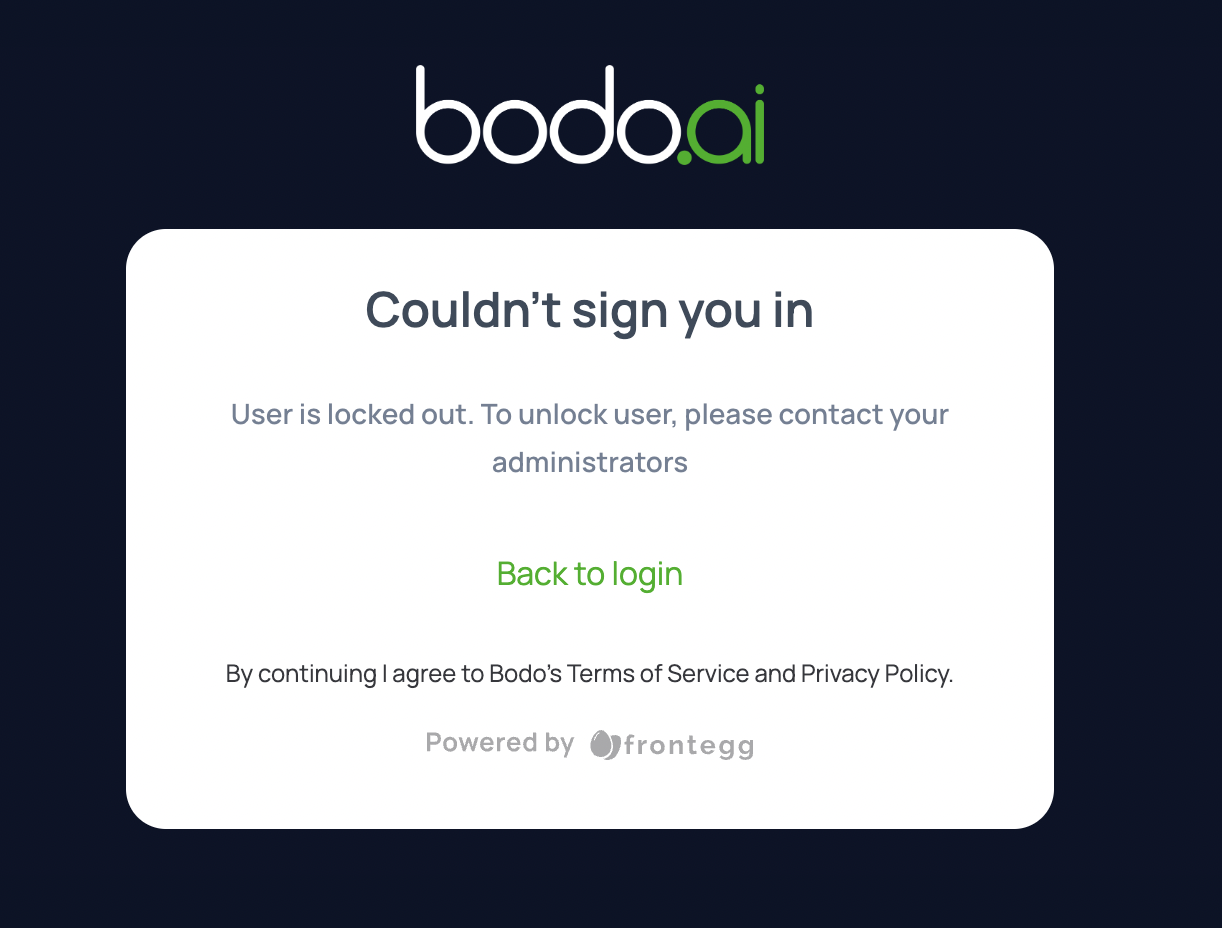
When you login to the platform, if you get an account locked error with message User is locked out. To unlock user, please contact your administrators,
this means that your account has been dormant (no login in more than 90 days). Please contact us to unlock your account.
For AWS troubleshooting, refer to this guide.
For Azure troubleshooting, refer to this guide.